How to Apply a UV DTF Wrap Without Bubbles or Wrinkles
Almost everyone’s first wrap has a bubble in it. Here’s how to make sure yours doesn’t.
Before you start
Clean the glass properly. Wash, dry, then wipe with rubbing alcohol. Any dust or fingerprint under the transfer becomes a permanent bump.
Let everything reach room temperature. Cold glass and warm hands make the adhesive behave unpredictably.
Work somewhere with good light. You need to see bubbles forming while you can still fix them.
Applying it
- Position before you commit. Hold the transfer against the can and work out where it starts and finishes without peeling anything.
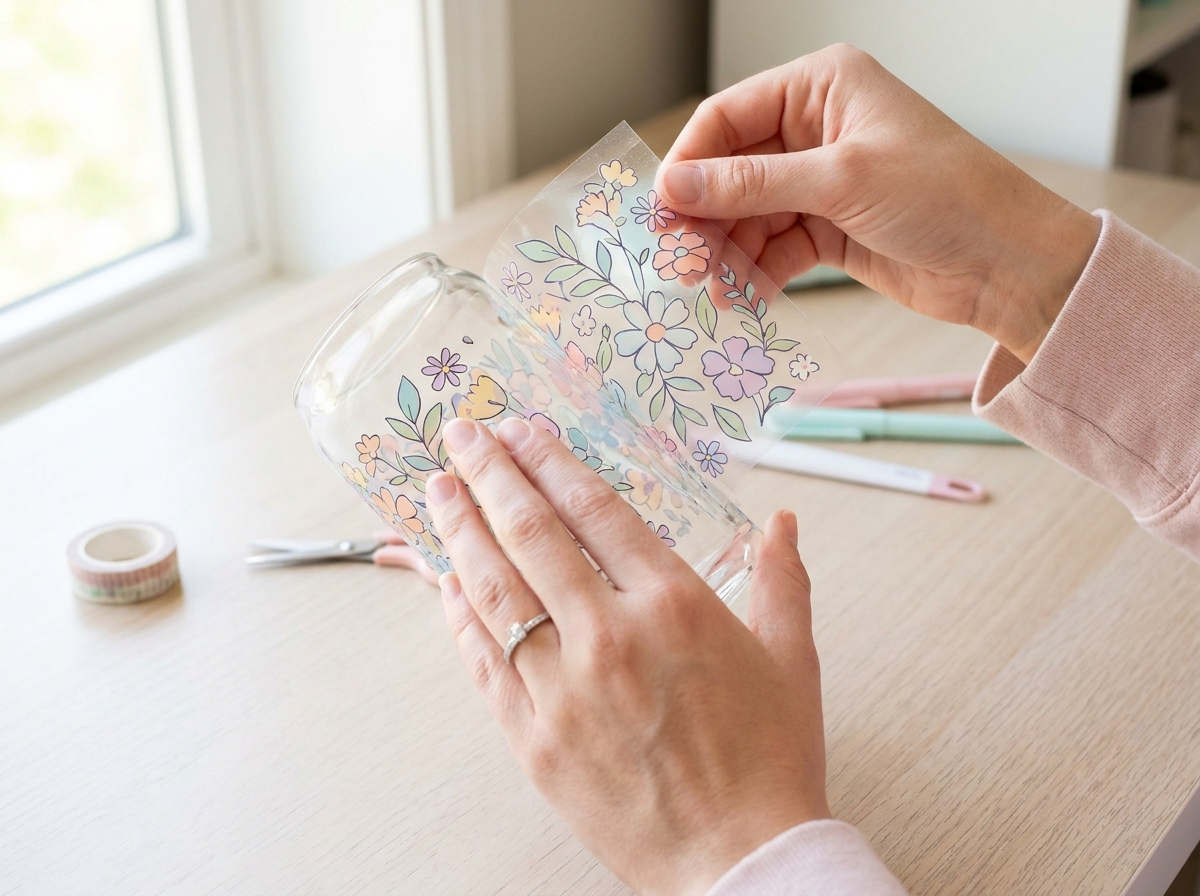
- Peel back a small section — not the whole thing. Maybe an inch. That’s the single biggest difference between a clean wrap and a mess.
- Anchor one edge. Press that first section down straight and level. Everything follows from here — if it’s crooked, start again rather than hoping.
- Roll, don’t drop. Turn the can slowly and let the transfer meet the glass gradually, peeling the backing as you go. Never lay a whole section down at once.
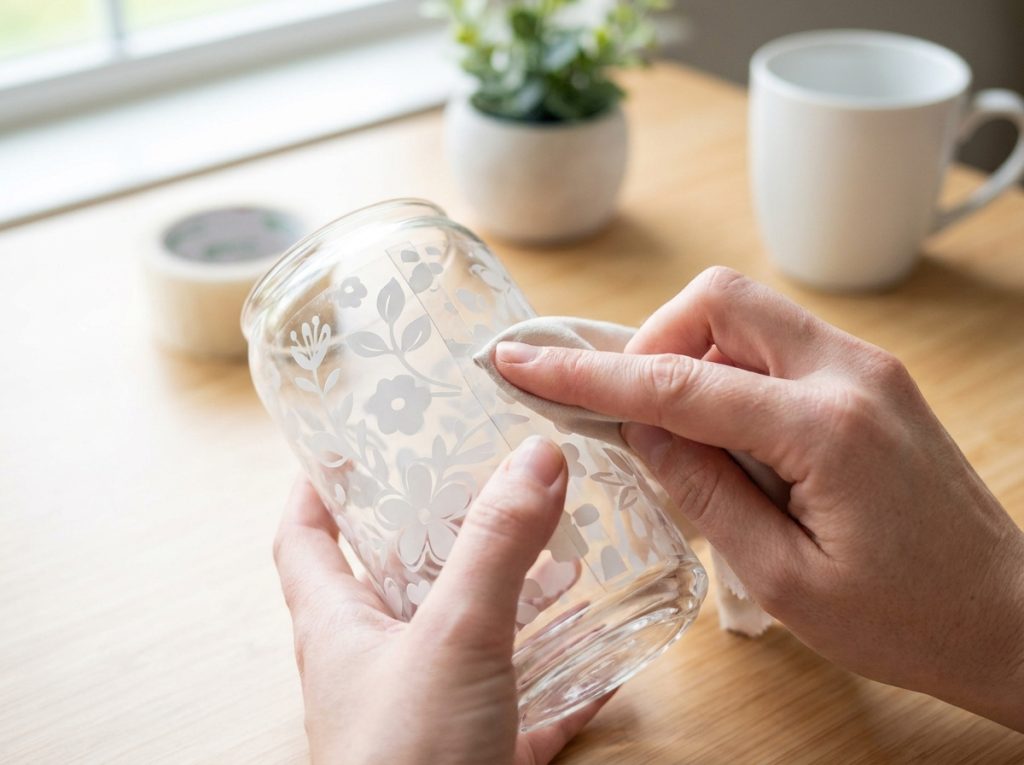
- Smooth as you go. Thumb from the centre outwards, pushing air toward the edge you haven’t stuck yet.
- Press the seam. Give the overlap extra attention and a few seconds of firm pressure.
If you get a bubble
Caught early: lift back to just before it and re-lay.
Already stuck down: press from the centre outward and it may work its way to the edge. A small pin prick at the edge of the bubble, then smooth flat, is the last resort.
Don’t panic about tiny bubbles — many settle within a day or two.
Caring for it afterwards
Hand wash only. Dishwashers will lift the edges eventually.
Give it 24 hours before washing so the adhesive cures fully.
Avoid soaking.
Ready to try?
Every design in my shop is print-ready for UV DTF. Not sure whether UV DTF or sublimation suits you? Here’s the comparison.