Sublimation vs UV DTF for Glass Cans
If you’ve just started making glass cans, you’ve probably run into these two terms and found nobody explaining the difference in plain English.
Here’s the short version, then the detail.
Sublimation bonds ink into a special coating. It’s permanent and hard-wearing, but the item has to be coated for it, and you need a heat press.
UV DTF is a printed transfer you peel and stick. It works on plain glass, needs no heat, and is far easier to start with.
Both work beautifully with the design files in my shop — everyone is supplied print-ready for either method.
What is sublimation?
Sublimation ink turns into a gas under heat and bonds into the surface rather than sitting on top of it. That’s why sublimated designs never peel or scratch off — they’ve become part of the item.
What you’ll need
- A sublimation printer and sublimation ink
- Sublimation paper
- A heat press, convection oven or tumbler press
- Sublimation-coated glass cans — this is the part people miss
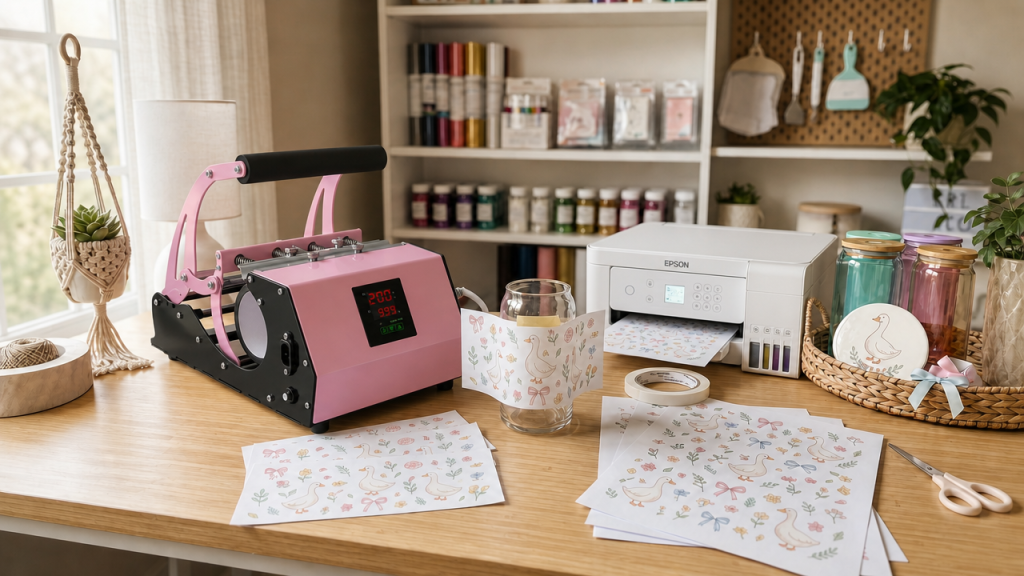
That last point catches beginners out constantly. Sublimation won’t stick to plain glass. The can has to have a polymer coating applied, which means buying cans specifically sold as sublimation blanks.
The upside: extremely durable, dishwasher-friendly, and cheap per unit once you’re set up.
The downside: the setup cost is real, and you can’t print white — anything white in your design shows as the colour of the blank underneath.
What is UV DTF?
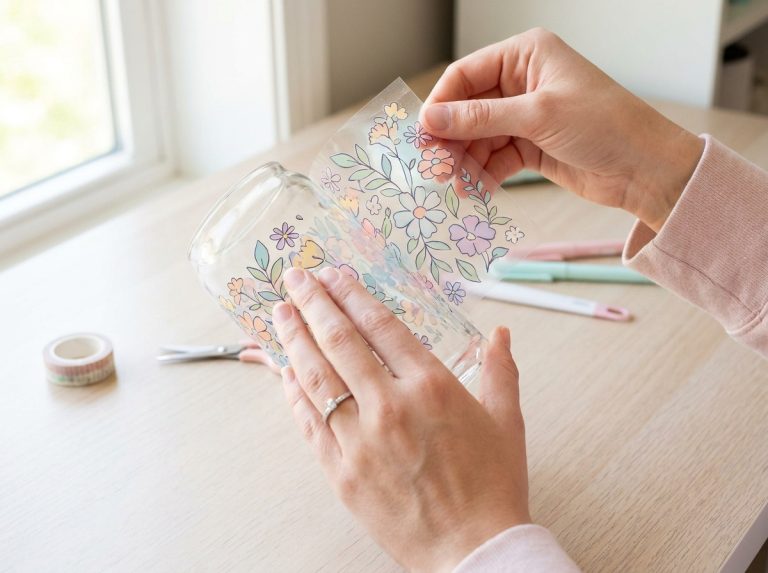
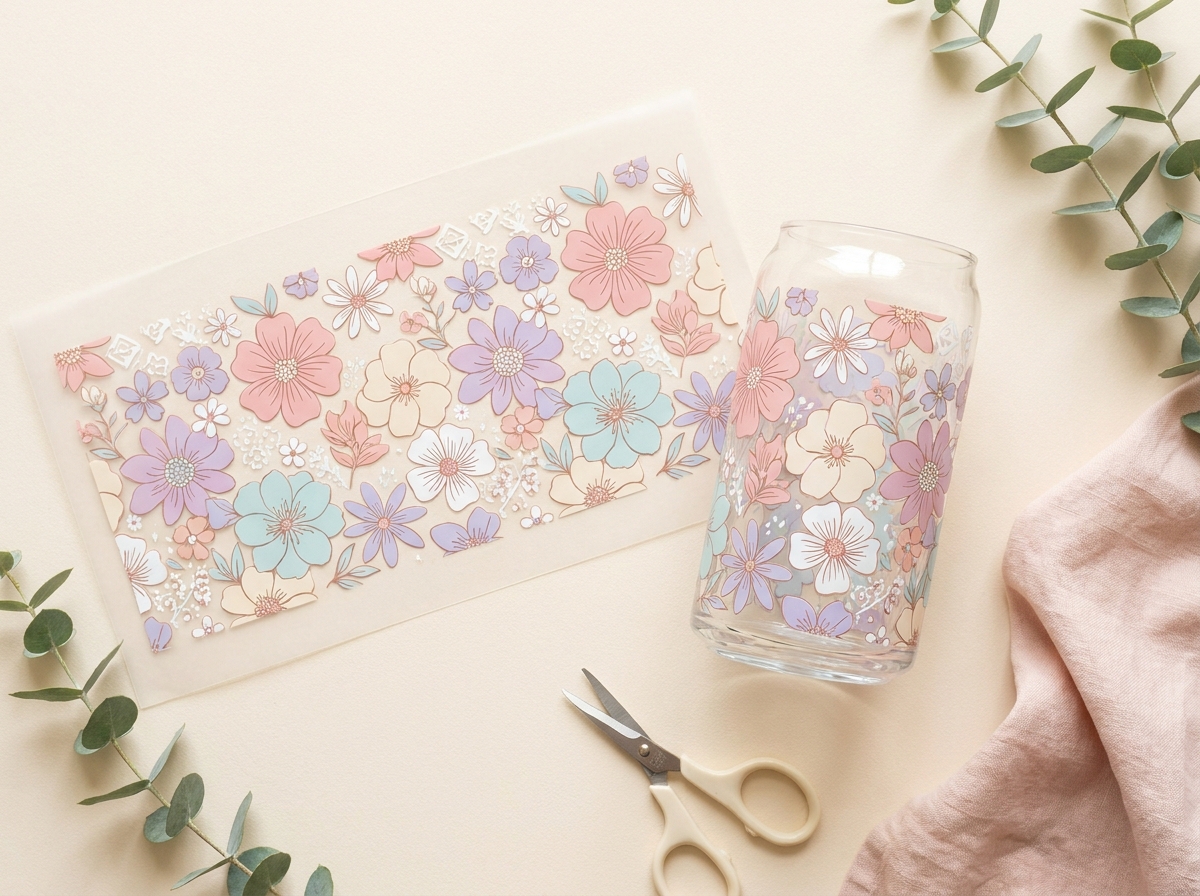
UV DTF stands for Ultra Violet Direct To Film. The design is printed onto a film and cured with UV light, then you peel it off and press it onto your item like a very high-quality sticker.
What you’ll need
- UV DTF transfers — either printed yourself, or ordered from a supplier
- A plain glass can
- Your hands
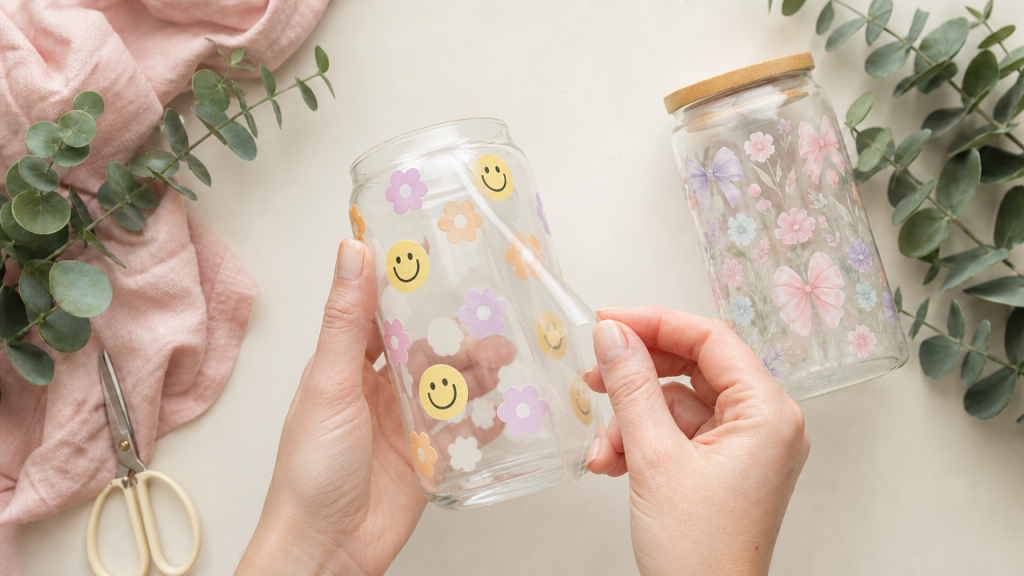
That’s genuinely it. No heat press, no coated blanks, no oven.
The upside: it works on plain glass, metal, wood and plastic. It prints white. It has a slightly raised, textured finish that looks and feels expensive. And you can start today without buying a printer.
The downside: hand wash only, and buying transfers costs more per item than sublimating at volume.
You don’t need a printer for UV DTF
This is the bit that surprises most people starting out.
You can send your design file to a UV DTF printing service, and they’ll post you the transfers ready to apply. You’re paying per transfer rather than for equipment.
For anyone testing whether cup-making is for them, that’s a much smaller leap than a sublimation setup — and it’s why plenty of makers start with UV DTF and add sublimation later once they know it’s working.
Side by side
Sublimation |
UV DTF |
|
|
Works on plain glass |
❌ Needs coated blanks |
✅ Yes |
|
Equipment needed |
Printer + heat press |
None, if you buy transfers |
|
Prints white |
❌ No |
✅ Yes |
|
Dishwasher safe |
✅ Generally yes |
⚠️ Hand wash recommended |
|
Cost per item at volume |
Lower |
Higher |
|
Easiest to start with |
❌ |
✅ |
So which should you choose?
Start with UV DTF if you’re new, you want to test the water without spending on equipment, or you like the raised finish. Order transfers, apply them, see whether you enjoy it.
Choose sublimation if you’re already making at volume, you want dishwasher-durable results, or you’ve got the setup already.
Plenty of makers do both — sublimation for their core range, UV DTF for one-offs, customs and anything on an uncoated surface.
What this means for the files you buy
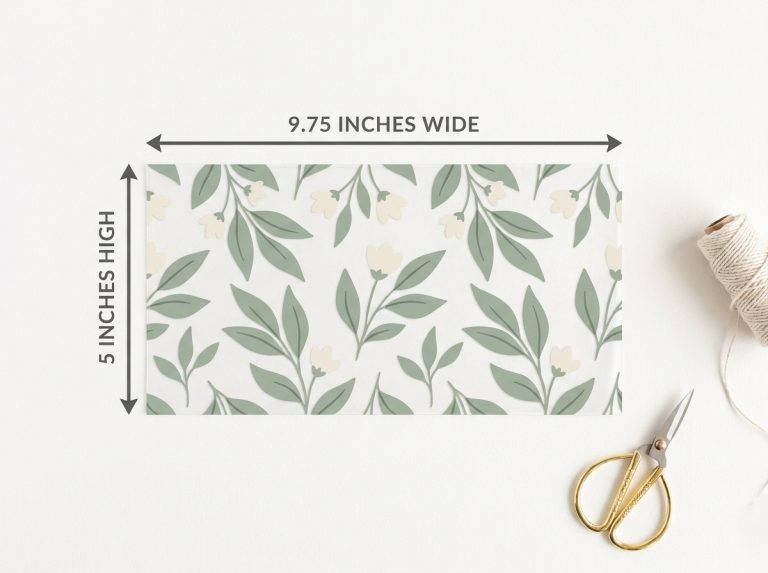
Every design in my shop is a 300 DPI PNG at 9.75″ × 5″, sized for a 16oz Libbey glass can, with a transparent background. That works for both methods — you’re not buying a different file depending on your setup.
And commercial use is included on every design, with no limit on how many you make or sell. Full licence here →
Still not sure?
Send me a message — I’d much rather talk it through than have you spend money on the wrong setup.
Or have a browse and see what catches your eye.